This post includes affiliate links
Dumping your RV tanks might seem intimidating, but with the right knowledge and preparation, it can become an easy routine part of RV life. Here are my tips to make the process easier:
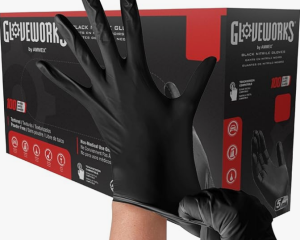
Tip 1- Protect yourself by wearing disposable gloves to protect your hands from any waste.
Tip 2- Store all your wastewater fittings together in a small plastic box. This keeps everything sanitary.
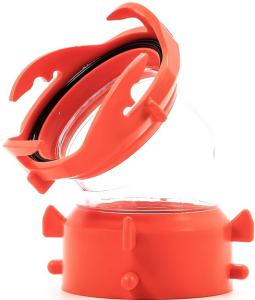
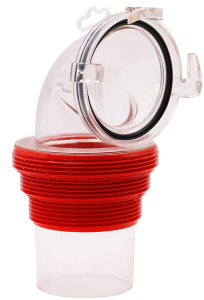
Connect your sewer hose to the RV. I like to use a 45 Degree RV Sewer Hose Swivel Fitting and to a 90-bayonet sewer fitting. This helps see if you have flow and tell when the tank is empty.
PRO TIP – Dump a little gray water first to test your sewer hose and the connections. You don’t want to find out you have a leak or bad connection with the black tank water.
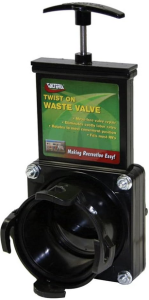
Tip 3- If you have an RV with the dump valves that are remotely mounted and you can’t actually see them, add a Twist-On Waste Valve at the RV waste outlet. This helps protect you from getting a surprise when you take off the sewer cap and find out you left a dump valve open. 
Dump your black tank first, water (from the toilet) should be dumped first, followed by gray water (from sinks and showers). This helps flush out the sewer hose with cleaner water.
PRO TIP 2- After dumping the black tank, I flush it and refill the tank with 10 gallons of water to keep water in it and any solids from sticking to the bottom. I use a flow meter and a timer on my phone to keep from over filling the tank and flooding the bathroom. ![]()
I dump our kitchen/galley gray tank next. This is the next dirtiest water. Lastly, I dump the bathroom gray tank to rinse out the sewer hose with soapy water. This helps clean the hose and prevent odors.
Tip 4- Keep a small spray bottle with bleach in it near your sewer connections to sanitize any small spills.
I hope you found this helpful. I wish you safe travels and happy RVing.


